Overview
Time: 2min
You can skip the first two steps if you want to jump directly to the working app and start writing tests by following the commands below in the "Code repository" section.
In this module, we will create a simple application to get and display Chuck Norris Jokes
Learning Outcomes
- How to use the default testing tools in an Angular CLI Application
- How to install and configure WallabyJS
Code repository
Checking out the first branch will give you the working application with the ChuckNorrisModule without any tests.
git clone "https://firebootcamp:Angular2rocks!@firebootcamp.visualstudio.com/FireBootCamp.Angular/_git/firebootcamp-testing"

cd firebootcamp-testing

git branch -a

git checkout -q 01

npm install
Create a new Angular CLI application
Time: 5min
- In the folder you would like to create this project run the following command
ng new firebootcamp-testing
- Change directory into the new project and open the CLI in Visual Studio Code
cd firebootcamp-testing && code .
- Run the application
ng serve
- Open the application in your web browser at http://localhost:4200
Run the default unit tests with Karma and Jasmine
Time: 5min
- Run the default unit tests in src/app/app.component.spec.ts with the following command which will run all tests in the app folder in a file ending in .spec.ts
ng test
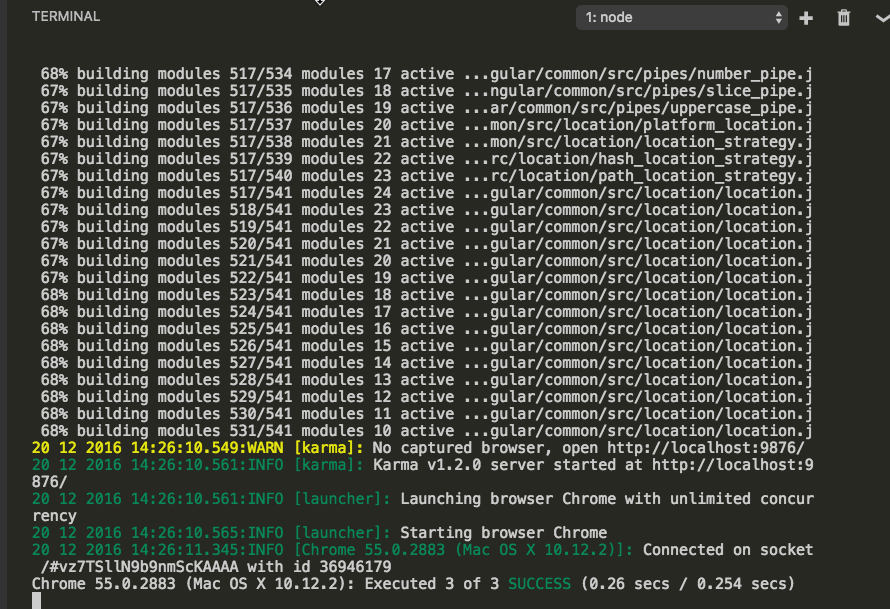
Figure: Karma out put in terminal
The default set up is nice and a huge help to get started quickly writing tests in your application but we will also look at wallaby later which can make getting realtime feedback in the IDE much quicker and better.
The tests that run here are the default tests the Angular CLI create for you. You can and we often do pass a flag in when generating code with the CLI to not auto create tests until we want them as they often break as soon as you inject your first dependency into an Angular component.
ng generate component test-component --spec false
NOTE: above command will tell the CLI not to auto generate test code for the component being made
- Run the default e2e tests in e2e/app.e2e-spec.ts with the following command which will run all e2e tests in the e2e folder in a file ending in .e2e-spec.ts
ng serve
then in another terminal run or it will fail as the application needs to be running for protractor
ng e2e
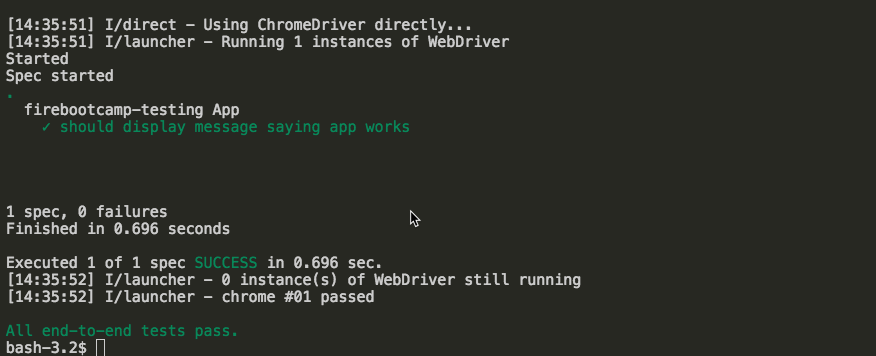
Figure: Protractor out put in terminal
There is no nice realtime feedback for e2e tests as they are slow to run and normally run on a CI (Continuous integration) setup versus as you code.
Review the Angular CLI directory and testing tools set up
Time: 5min
By default the Angular CLI will configure both unit tests and e2e tests in your new Angular CLI application.
The default tools that most teams use for testing Angular are the same ones set up by the Angular CLI
The Jasmine test framework
Provides everything needed to write basic tests. It ships with a HTML test runner that executes tests in the browser.
Angular testing utilities
The Angular testing utilities create a test environment for the Angular application code under test. Use them to condition and control parts of the application as they interact within the Angular environment.
Karma
The karma test runner is ideal for writing and running unit tests while developing the application. It can be an integral part of the project's development and continuous integration processes. This guide describes how to setup and run tests with karma.
Protractor
Use protractor to write and run end-to-end (e2e) tests. End-to-end tests explore the application as users experience it. In e2e testing, one process runs the real application and a second process runs protractor tests that simulate user behavior and assert that the application responds in the browser as expected.
The angular.io official testing docs are 99 pages long which hopefully gives you an idea of how big a topic frontend testing is with Angular and how the platform is truly designed to be tested from the ground up.
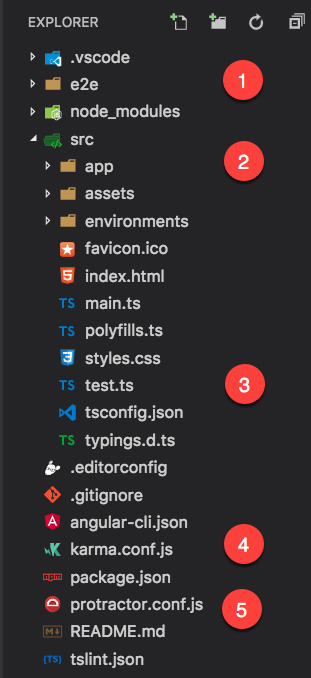
Figure: Angular CLI Folder Structure
-
e2e - The folder with all the e2e tests
-
app folder - Any files in this folder with a suffix of .spec.ts will be picked up and run by the test runner (Karma or WallabyJS)
-
test.ts - Specific testing config for Angular
-
karma.conf.js - Testing config for the Karma test runner
-
protractor.conf.js - Testing config file for Protractor to run e2e tests
We will get into writing some of our tests in the next module, but for now, it is important to know how to run them.
Adding WallabyJS Test Runner
Time: 10min
WallabyJS is a paid test runner tool that gives you inline feedback
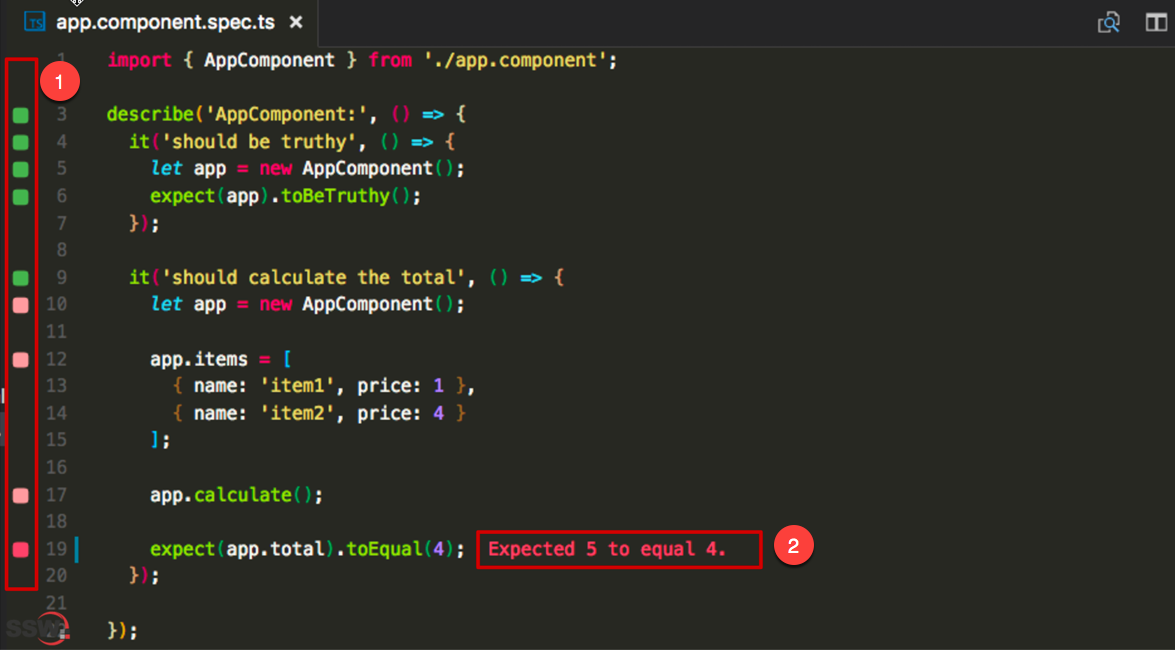
Figure: WallabyJS running in VSCode showing inline feedback
-
Colour based indicators for if tests are passing, falling or not/partially covered.
-
Inline feedback on console.log() and Jasmine expectations.
-
In the folder, you would like to create this project run the following command
-
To install WallabyJS first, you need to get a trial version of the extension from the extension window in VSCode
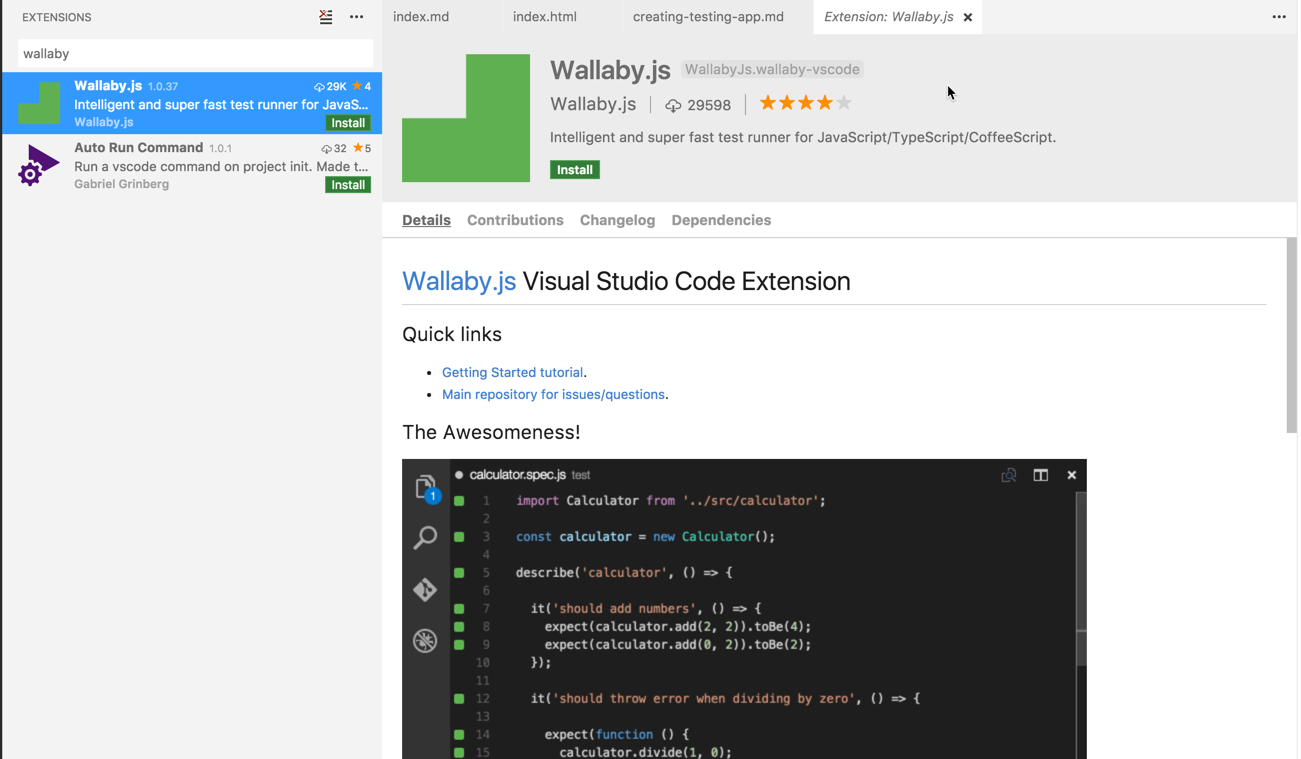
Figure: Extension window in VSCode
- Next, add the following files and packages
Wallaby config can change check the demo project here https://github.com/wallabyjs/ngCliWebpackSample
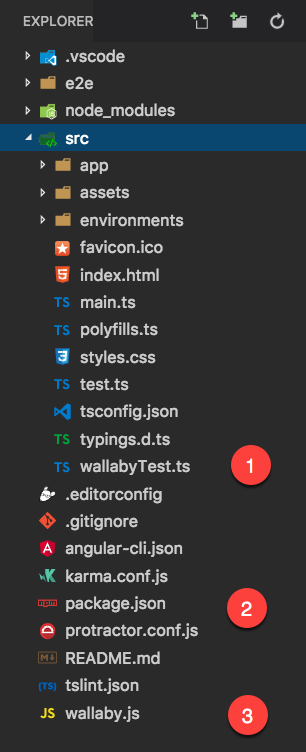
Figure: Where to place the config files for WallabyJS in the CLI directory folder
- wallabyTest.ts - Specific WallabyJS angular config
- wallaby.js - Default config for the test runner
NOTE: - The following will be updated automatically. You don’t need to manually add these dependencies
3. package.json – New dependencies needed to run WallabyJS
src/wallabyTest.ts
import './polyfills';

import 'zone.js/dist/long-stack-trace-zone';
import 'zone.js/dist/proxy.js';
import 'zone.js/dist/sync-test';
import 'zone.js/dist/jasmine-patch';
import 'zone.js/dist/async-test';
import 'zone.js/dist/fake-async-test';

import { getTestBed } from '@angular/core/testing';
import {
  BrowserDynamicTestingModule,
  platformBrowserDynamicTesting
} from '@angular/platform-browser-dynamic/testing';

getTestBed().initTestEnvironment(
  BrowserDynamicTestingModule,
  platformBrowserDynamicTesting()
);
wallaby.js
var wallabyWebpack = require('wallaby-webpack');

var webpackPostprocessor = wallabyWebpack({
  entryPatterns: [
    'src/wallabyTest.js',
    'src/**/*spec.js'
  ],

  module: {
    loaders: [
      {test: /\.css$/, loader: 'raw-loader'},
      {test: /\.html$/, loader: 'raw-loader'},
      {test: /\.js$/, loader: 'angular2-template-loader', exclude: /node_modules/},
      {test: /\.json$/, loader: 'json-loader'},
      {test: /\.styl$/, loaders: ['raw-loader', 'stylus-loader']},
      {test: /\.less$/, loaders: ['raw-loader', 'less-loader']},
      {test: /\.scss$|\.sass$/, loaders: ['raw-loader', 'sass-loader']},
      {test: /\.(jpg|png)$/, loader: 'url-loader?limit=128000'}
    ]
  }
});

var compilerOptions = require('./src/tsconfig.spec.json').compilerOptions;

module.exports = function (wallaby) {

  return {
    files: [
      {pattern: 'src/**/*.ts', load: false},
      {pattern: 'src/**/*.d.ts', ignore: true},
      {pattern: 'src/**/*.css', load: false},
      {pattern: 'src/**/*.less', load: false},
      {pattern: 'src/**/*.scss', load: false},
      {pattern: 'src/**/*.sass', load: false},
      {pattern: 'src/**/*.html', load: false},
      {pattern: 'src/**/*spec.ts', ignore: true}
    ],

    tests: [
      {pattern: 'src/**/*spec.ts', load: false}
    ],

    testFramework: 'jasmine',

    compilers: {
      '**/*.ts': wallaby.compilers.typeScript(compilerOptions)
    },

    env: {
      kind: 'electron'
    },

    postprocessor: webpackPostprocessor,

    setup: function () {
      window.__moduleBundler.loadTests();
    },

    debug: true
  };
};
Run the below command to install these packages.
npm install electron wallaby-webpack angular2-template-loader --save-dev
- Check your package.json has been updated to include the required dependencies as shown below. Note the versions might be more recent.
package.json
  "devDependencies": {
    "angular2-template-loader": "^0.6.2",
    "typescript": "~2.0.0",
    "wallaby-webpack": "0.0.34"
  }
Running WallabyJS
To start WallabyJS use the below keyboard shortcut combination or click F1 and search WallabyJS to see all the WallabyJS commands
Ctrl + Shift + R THEN R
If you are prompted for which file to use as default use wallaby.js in the root of the app directory.

Jasmine Code Snippets
Time: 2min
In VSCode:
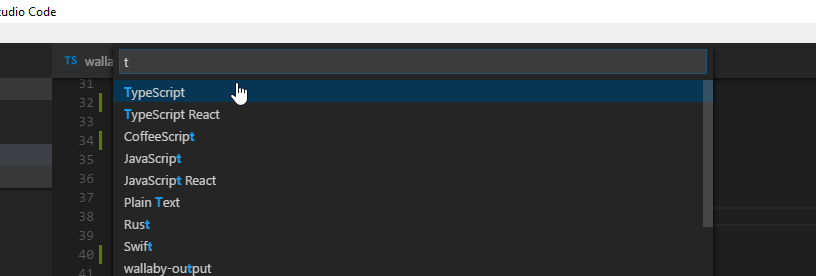
- Press F1 Then type '>Open User Snippets'
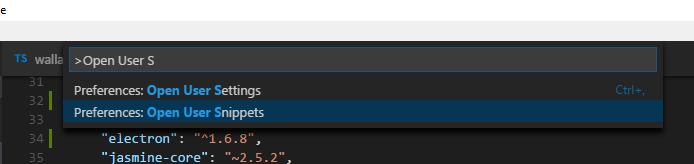 2. Select 'TypeScript'
 3. paste in below snippets in between the existing curly { } brackets
  "jasmine describe": {
		"prefix": "jdescribe",
		"body": [
			"describe(`$1`, () => {",
			"$0",
			"});"
		]
	},
	"jasmine it": {
		"prefix": "jit",
		"body": [
			"it(`should $1`, () => {",
			"$0",
			"});"
		],
		"description": "jasmine it"
	},
	"jasmine beforeEach": {
		"prefix": "jbefore",
		"body": [
			"beforeEach(() => {",
			"$0",
			"});"
		]
	},
	"jasmine expect": {
		"prefix": "jexpect",
		"body": [
			"expect($1).toEqual($0);"
		]
	}