Summary
Time: 5 min
In this module we learn how to create a brand new Angular application using the Angular Command Line Interface (CLI).
Learning Outcomes
- How to scaffold a new Angular application using the Angular CLI
- What each piece of the scaffolded code does
- How to run the generated application
Create a new Angular application with the CLI
Time: 5 min
- Open a command prompt
- Navigate to the folder where you would like to create your application
- Create a new Angular project
ng new hello-world --prefix fbc
This will create a new folder with the same name as your project 'hello-world'.
This is quite impressive. Until now starting a new angular application required finding a seed application online to build from, as the boilerplate code was pretty complex.
Now we can build from a template that the Angular team will keep up to date for us.
The --prefix fbc parameters specify that we will prefix our controls with 'fbc' instead of the default 'app'. e.g. the selector for our app module will be 'fbc-root' instead of 'app-root'.
Did you know? You will be able to update your angular application template even after you've started building. Running
ng initfrom within your project will scan for boilerplate files and update them when new versions are released.
Run the application and view it in the browser
Time: 5 min
- Run the application by executing the 'serve' command
cd hello-world
ng serve
- Open the application in the browser by pasting
http://localhost:4200into the address bar
You should see something like this!
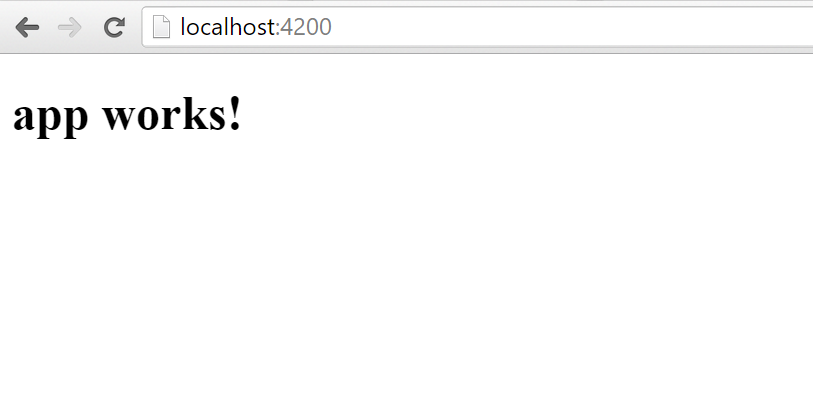
Figure: It works!
By default this will serve the application on Port 4200.
If you get an error saying that port 4200 is in use
- check your terminal windows and see if you have another CLI project running. If you do stop it and try serving again.
- sometimes the CLI grabs that port and won't release it. In that case you can serve your application on another port using the following command
ng serve --port 4201
-
Open '/src/app/app.component.ts' and change the value of the 'title' property to 'app works with Angular ! '
-
Observe that the page refreshes automatically.
Inspect the folder structure
Time: 5 min
Let's take a look at each section of our newly generated application.
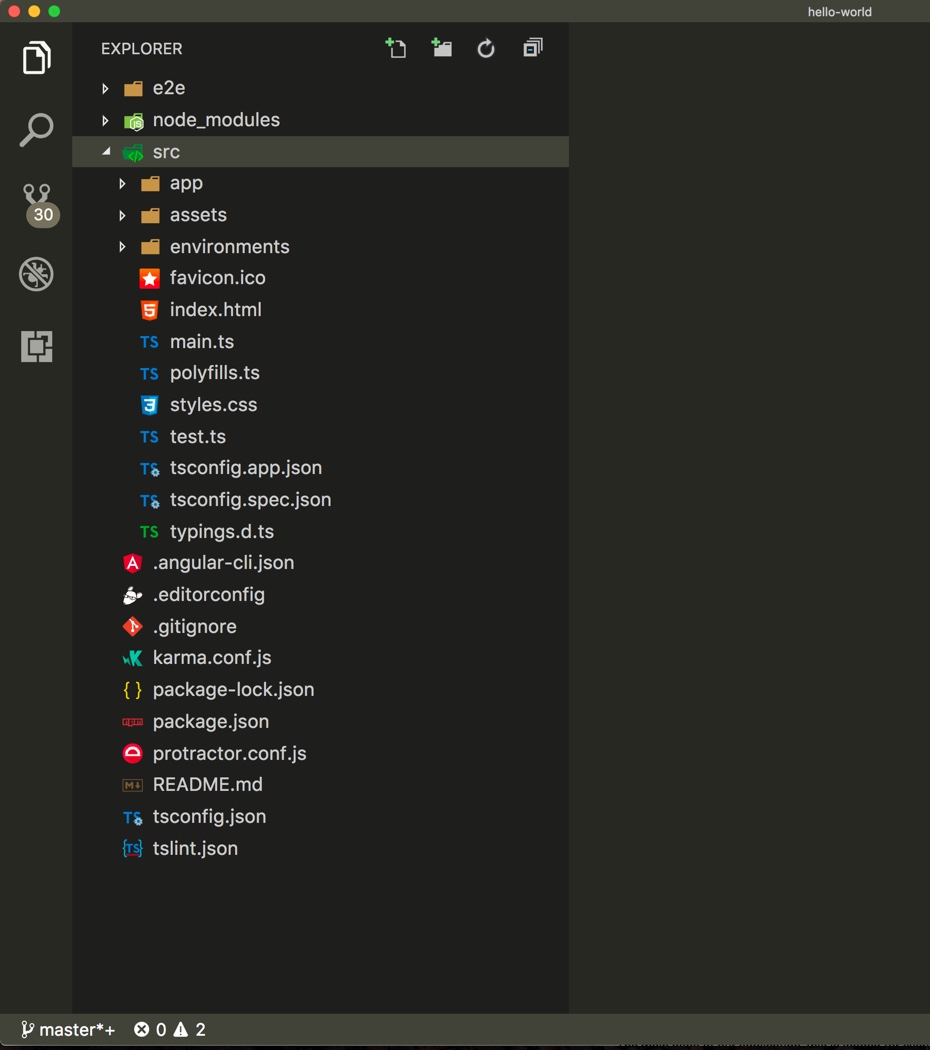
Figure: The contents of a newly created Angular Application
/e2e
This folder contains the End to End tests for your application. We will be coming back to this folder in a future lesson.
/node_modules
This folder is automatically generated by npm and contains all the code for your references packages. You can safely ignore this folder.
/src
This is where all of your application code will go. Let's take a look at the important files that were generated.
/src/index.html
The main page of our application, this is loaded for every request. We will add some scripts and stylesheet references here but no application code should be added, we'll leave that to the App Component which you'll see shortly.
/src/main.ts
The first file that angular loads. This file is responsible for bootstrapping your angular application, however you won't be editing it much. Only very important, site-wide things go in here.
/src/tsconfig.json
This file instructs the typescript compiler how to behave. It is very important, but you probably won't need to change anything. Understanding what the options in this file do will help you when dealing with non Angular CLI based projects.
/src/app
This folder is where we will put our application components and is where we will write the majority of our code. One component has already been created for us, let's take a look at it.
/src/app/app.component.ts
This is our root component. The rest of our entire application will be loaded from here, via components and their children. Each component also has an associated HTML, CSS and Testing Spec file. Take a quick look at those as well.
/src/assets
This folder will contain all of your images, style sheets and other static assets. The contents of this folder are exposed to the internet.
/typings
This folder is automatically generated by the typings package. It contains the typescript definition files for your third party packages. You can safely ignore this folder.
.gitignore
If you're new to git, this file contains a list of excluded files and folders. This makes sure you don't commit unnecessary files (automatically generated) to your repository, ensuring it stays lightweight and fast.
.angular-cli.json
This file contains some configuration settings for the Angular CLI tool. You shouldn't need to change anything in here.
package.json
This file is used by npm. It contains a list of all of your npm dependencies. The difference between dependencies and devDependencies is dependencies are required for the application to be published and run and are usually referenced in your code, the devDependencies are required for you to work on the application, such as tools and test runners.
Summary
Time: 5 min
In this module we installed the Angular CLI and created our first Angular CLI project.
We then ran the application we created in the browser, and inspected the folder structure that was created.
One of the best features of the Angular CLI is that out of the box it can produce highly optimised deployable assets. We will show this and go into detail in a later module.
Further Reading
SSW Rules to Better Angular - Do You Know the Best Build Tool